Our little thrift store in town has this fill a bag for $5 going on right now. The bag is one of those 13 gallon trash bags. A ton of the clothes will fit in that size bag and I never did fill mine either time I went. Lots of the clothes aren't in style anymore the way they are made etc. I went in today looking for nice stretchy fabrics for some children's leggings I want to make. I was looking for funky fabrics, wild fabrics and pretty, but mainly stretchy. Threw some tee shirts into my bag as well. I found some cute fabrics and also needed some long pieces since some of the little legs I am going to sew for are long ones. I got a load washing now in the washer and one load of them drying. If you're like me you like before and after pix and if this goes good I might can post some afters. Wink wink.
I have been checking out some you tube videos of some ladies making the little leggings for babies and toddlers and some are reusing fabrics like I am about to do. I also found some free patterns on some of the video's as well and instructions as well. Really don't think I'll need instructions though. I do plan on cutting out some seams on one of them as well since there are side seams that really isn't necessary. I just hope I get the legs long enough! LOL IF I get them to long they can bunch them up, but to short wont be good. Here is one link I found for a pattern. There are many of them. Baby Leggings Pattern
I have went to the little thrift store here in town like 3 times now getting these bags of clothes for various things. One of my little friends needed some clothes and I found her a bunch of little things. It's a really good deal and a very good way of getting rid of clothing so they can put in new stuff. Here are the things I found today for making leggings and such with.
Black fabric with all colors of lines in it. Most of these fabrics are the slinky fabrics as I call them.
Another slinky fabric with blue, white, and black. I think these will be some really cute leggings!
Then the next piece is navy blue and white.
Tee shirt fabric shirt with various of colors in it.
Black and white complete with a bow. lol
Then another tee shirt. It has something on the back of it but I can get what I need out of the front of it for one pair.
A black and white slinky again. This will make some good leggings. I can use some of that black band on the bottom there for the top waist band and for the bottoms of the legs if I chose to do so.
This one is another slinky type fabric. Has the long ties on it to tie at the neckline. Could use that as my waistband/leg bands as well.
I LOVE this next piece! LOVE the colors of it! Has a wide band at the bottom as well.
Got one more pair made from this one. It was a little to short so I added a band at the waist to make it work. Not going to hem these nor do the elastic yet until I found out their measurements so I will know for sure. I don't know if you can tell or not from the above pic but there was a really wide band on the bottom of it. IF the pants was to be to short I can add the little ruffle like they do and that will make them longer. I dearly love this type of flimsy fabric, but it sure is hard to sew and get to lay right when you're trying to sew it together.
This one is some of that athlete shirts. It's a blueish color and I think would even match the above piece for cuffs or waistband if I chose to do that.
NOW I need to fix me a hanging thing in my sewing room to hang all these on so I can choose which one I want and they don't get all wrinkled. Don't know about you, but I HATE messing with wrinkled up fabrics!
This teal skirt is really huge and I can make a bunch out of it. It's also tee shirt fabric. I can make two to match so they can be twinkies.
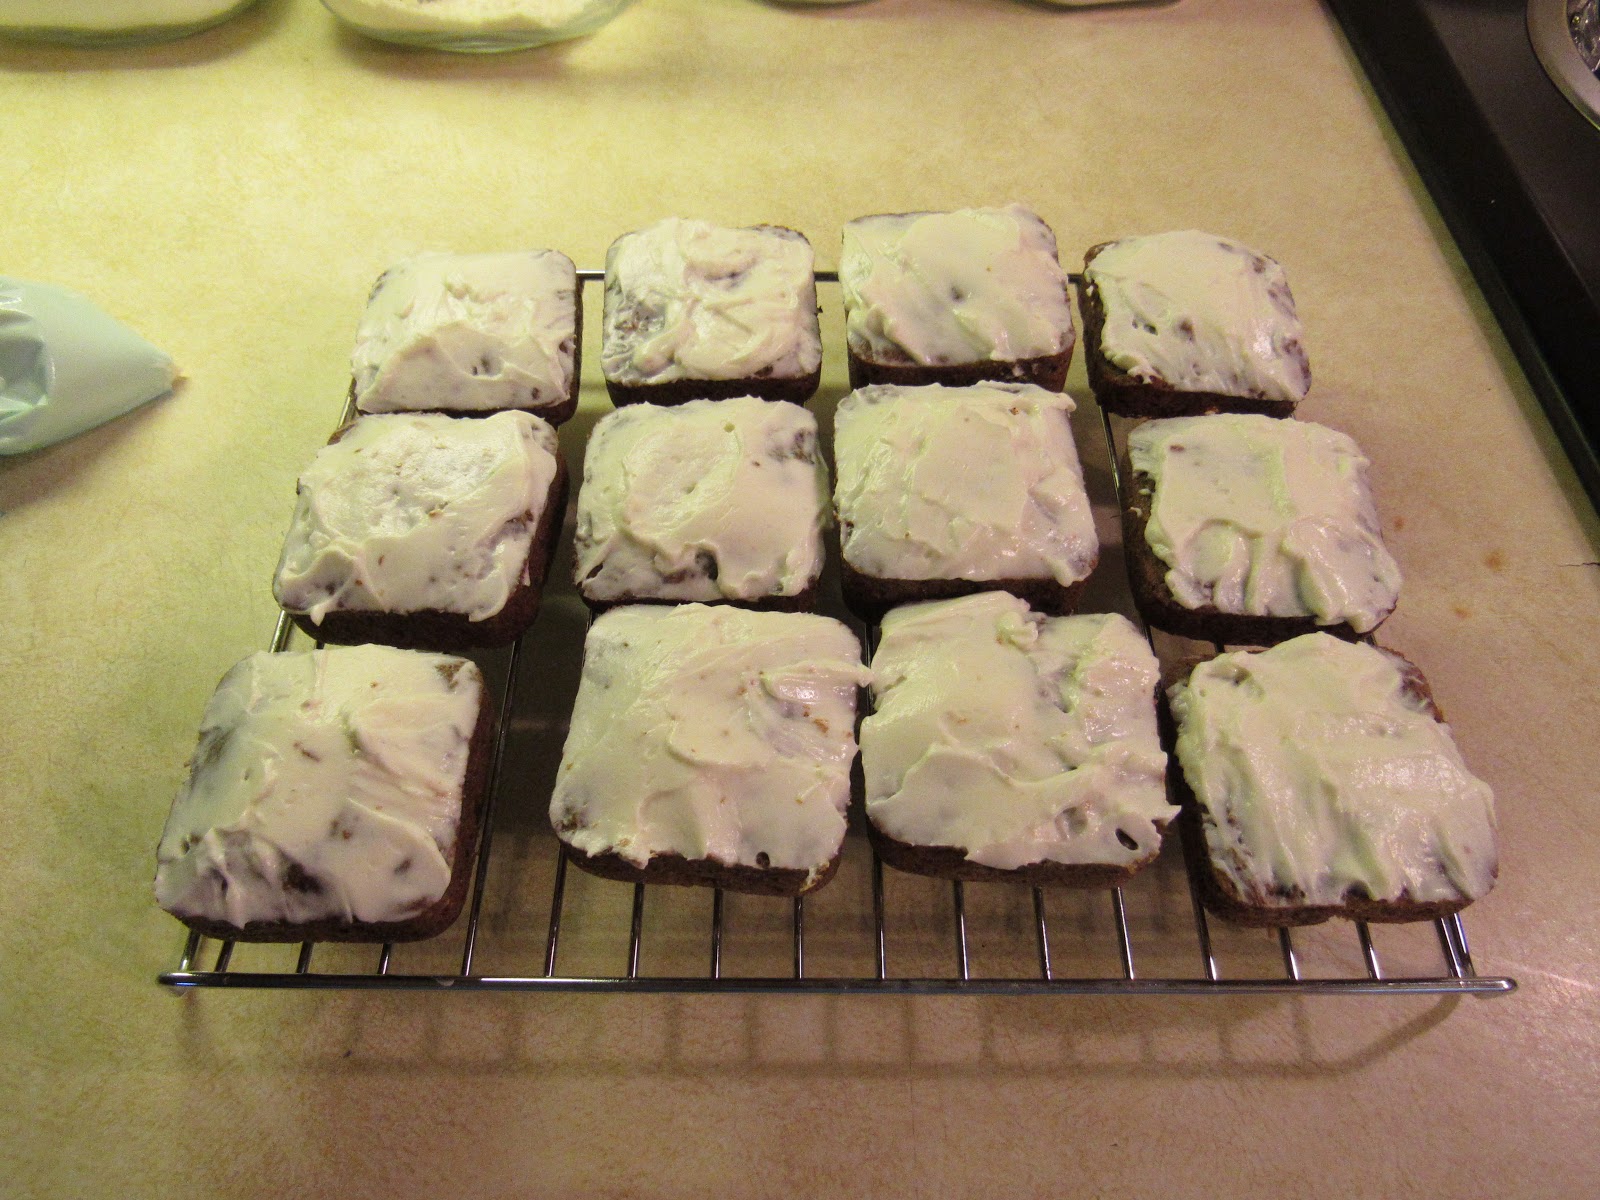
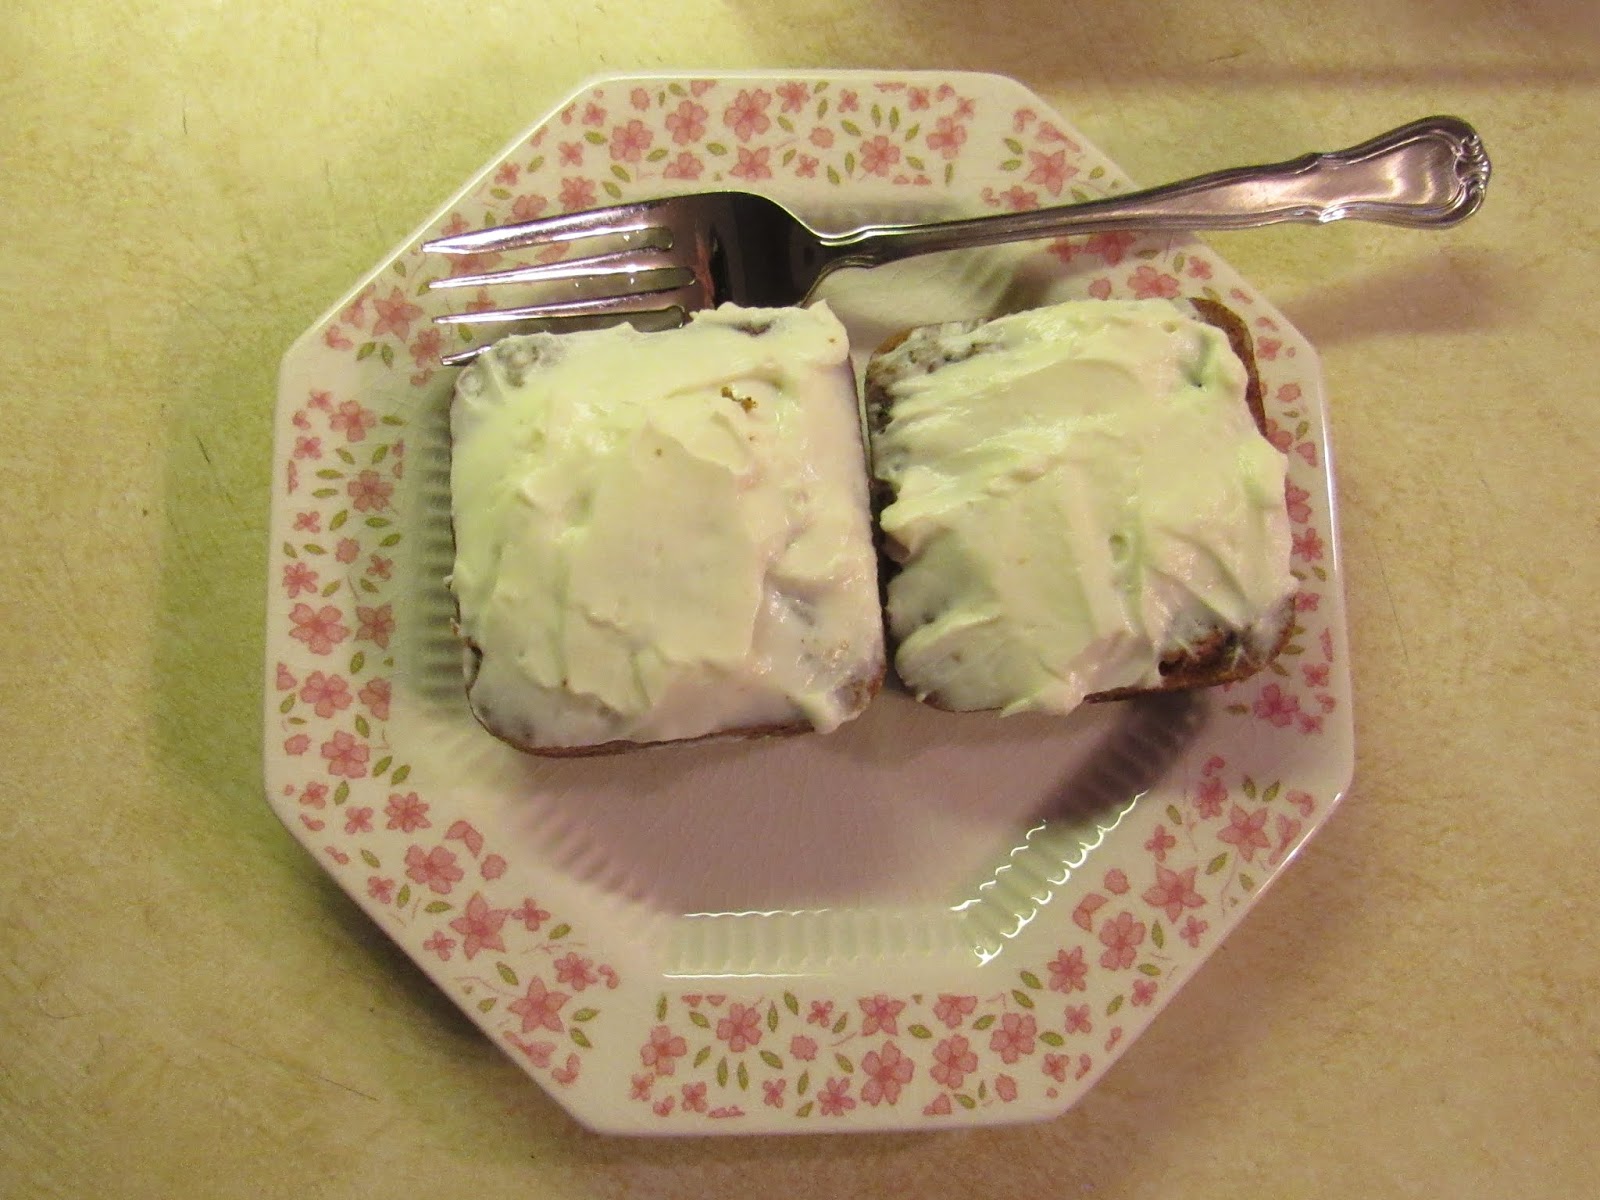
I made a couple pair pants last night out of the above skirt. I used the original hem on it for the hem on the pants. Here is one of the pair of pants. I used the wide elastic and everything that was in the skirt for both pair pants. All I have left to do for both pair is to sew the edge of the waist band down since I used my serger to sew on the elastic and then sew down the middle of the elastic to keep it from folding in half like they tend to do sometimes. Lighting isn't the best since it was dark when I took the pic of the pants. I am guessing big time on the lengths and on the waist sizes since I really don't know their measurements. These are suppose to be leggings but I think the legs are much to wide for leggings, but I guess we shall see.
This next piece I thought stretched better than it does. Might have to do this one on the bias for a smaller baby since it really needs to stretch.
This one is black A line skirt with wide waistband. If I am remembering right it's like tee shirt fabric. I have several tee shirts as well in various of colors that I wont bore you with since they're just plain and solid colors.
OK I think that's about it on the clothing. Now to get to sewing. lol
I sure hope you guys are having a great week!
Rose
Edited to add:I found a few more tee shirts, nice thick fabric ones for a buck each at the thrift store so I bought them. The yellow one was a tank top but my friend always loved butterflies. I knew it would make a pair for her baby so I bought it.
The white background one was a tee shirt fabric baby blanket. I could probably make 2 more from it. A little skirt added to one would be cute to. Love how they're doing that now and the ruffles to on the bottoms. I had so much pieces of fabric left over on the blue stripe one I made bath clothes with it for her to. You can see the neck piece of the fabric at the top above the little pants. She's so tiny at a year old she only is in a 6-9 mo. and some of the 9 mo. are to large. She's also walking and she doesn't look like she should be walking she's so little. Just a doll I tell ya! SO precious! Those yellow ones with the butterflies..... see how wide the legs are? That was the 1st pair I
made. I added length to the pattern and when I started trying to pen it together I was like something is really really weird here. What it was, the pattern was UPSIDE down! I'd found it online and I was like what in the world? So I finally figured it out and it WAS upside down so hence the wide legs because I was making what I THOUGHT was the waist wider. I am hoping they fit her since I don't know measurements and just guessing at it.
OK will share more of the afters when I get them all made. OH and I did get measurements of my 2 nieces and I got to add a ruffle to the one I hadn't finished yet. Was waiting to see measurements and it's about 2" to short.
Rose